California Drywall Patch?
How to guide:
Drywall Tips
Drywall Installation, Finishing Tips, Blowout Patches and more...
What's the difference between Sheetrock and Drywall? it's as simple as... Sheetrock is just the name of drywall or wallboard manufacturer. Now that we got that out of the way... We hope you enjoy the site!
Welcome to the Drywall information website, On this site we supply information on how to make a drywall patch, installation, finishing and texture techniques and other helpful information. We also have product reviews and tips to help make your next drywall project go perfectly.
How to remove a Popcorn Ceiling
Patching a hole in Drywall with a "Blowout Patch"
A "Blowout Patch" or "California Drywall Patch" is an extremely simple method of repairing holes in drywall without having to buy one of the expensive, cheesy drywall patch kits. And those mesh/metal drywall patch usually come out looking very amateurish. If done right this method will typically come out much smoother looking.
What you will need:
Drywall joint compound - (premixed or bagged 20 thru 90 opinions will work)
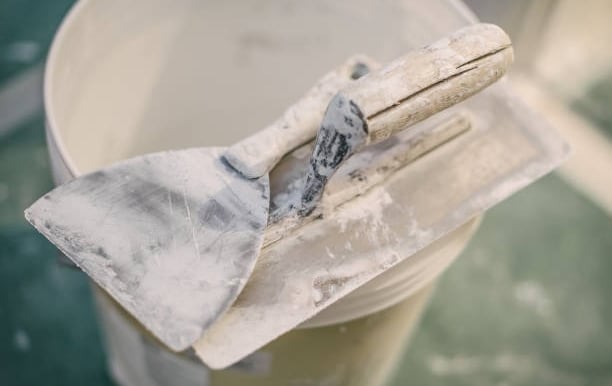
Drywall mud knife
Drywall "Keyhole" saw
Mud pan
Utility knife
Measuring tape
Pencil
A scrap piece of drywall about 4"-6" larger than your holes width and height (to cut your patch from)
Step One: Measure the hole to be patched,
Measure the dimensions of the hole to be patched. If the hole is round it is sometimes easier to square it up using a drywall keyhole saw.
Step Two: Transfer dimensions onto scrap drywall and cut patch.
On the under/ back side of the scrap drywall piece, Mark out the dimensions of the hole to be patched.
Step Three: Score/ Cut and Peel
Once your patch is laid out, score/cut only the paper on the back side of your drywall piece. Then snap the drywall along the score lines and slowly peel/ remove the wallboard material leaving the front face paper attached to the patch. This acts as the drywall tape for the patch. (See picture) Note: the paper on the front side of your patch should overhang the hole by at least an inch and a half to two inches. (See picture)
Step four: Apply compound/mud.
Apply compound/ mud around the hole to be patch. Then press the "blowout" patch into the mud. Using your drywall knife work the front side of your drywall patch's paper into the compound and smooth as you would normal joint tape. Once the paper is worked into the mud and smooth, You then apply a smooth coat over the entire patch.
Step five: Sand and recoat.
Finally... Once the compound has dried, sand raised edges and recoat until smooth.
Dry sand vs. Wet sand
Everyone loves sanding drywall joints right? Hell no! For one the dust that sanding drywall compound makes is out of control. And when doing repair work this can be a major problem in residential and commercial environments. This dust is very fine and gets everywhere and in everything. The best option that I have found when doing repair work is to do more, thin coats of drywall compound (making a point not to have too much access mud), and using a large wet sponge. I prefer the large yellow sanding sponges found at home improvement stores like Home Depot or Lowe's. But remember, when wet sanding make sure you wring out as much water from the sponge as possible. And try not to get your wallboard too wet. Cleaning your sponge when it gets over saturated with compound. This process may take practice but once perfected, it's a great solution to the dust problem in a occupied work area in need of drywall repairs.
Don't get the wrong mud for your drywall project!
A common mistake made by amateur drywallers and finishers is selecting the wrong mud. Use an “fast setting” compound for the first, second or each additional coat—except the final coat. The final coat it is recommended using a All-purpose/ pre mixed compound. It will go on smoothly and create a fine surface and sand easily. It is also not a bad idea to mix the premix mud with a electric drill and a paddle bit or "potato masher type mixer" if available. Adding a small amount of water may also help with a smooth application of compound to joints.
So... unless you’re an experienced taper, it is recommended you steer clear of “fast-setting,” or “hot,” 15/30/60/90 minute mud that dries very quickly. Hot mud can set up before you have a chance to smooth it out, and leave you with a lot of extra sanding.